Showing posts with label Wings. Show all posts

Friday, July 11, 2014

Wing Struts Primed


The grandkids, Rowan & Duncan, are visiting so it was a great excuse to get back to working on the plane.  We're learning how to hold the can an even distance from the part and to start and stop spraying while the can is in motion.  A light coat, let it dry 10 minutes and another light coat.  With 2 struts there was plenty for each.  The weather was warm and dry so the struts baked in the sun all afternoon.  We used the wing stands to hold the struts so we could rotate them.  It made spraying much easier.

Well done young apprentices.

Monday, February 17, 2014

Snow Damage 13 Feb 2014

 The snowstorm which came through seemed harmless when we went to sleep Wednesday night.  It was cold (25 degrees) so the snow was light.  In the morning it was still cold but what I didn't know was that in the middle of the night the snow turned to fine sleet for a while.  We ended up with about 6" of light snow, 4" of sleet heavy and some light snow on top.  About 6:20 am, while I was waiting for daylight a sudden gust of wind shook the tent enough to cause it to collapse under the weight.

 Because of the rebar I used to secure the side poles against wind, the sides leaned but did not collapse.  The wings were hanging by straps from the horizontal poles along the top of each wall.  I had also padded the poles to protect the wings from wind damage.  All of that worked to protect the wings.  In the left picture there is a bundle of poles, some plastic and some metal, above the wing.  Unfortunately when the bungee cord at the far end let go one of the metal poles struck the wing and nicked it enough to require opening the fabric to inspect and fix it.


 The right wing is just laying there on the side poles with no problems.
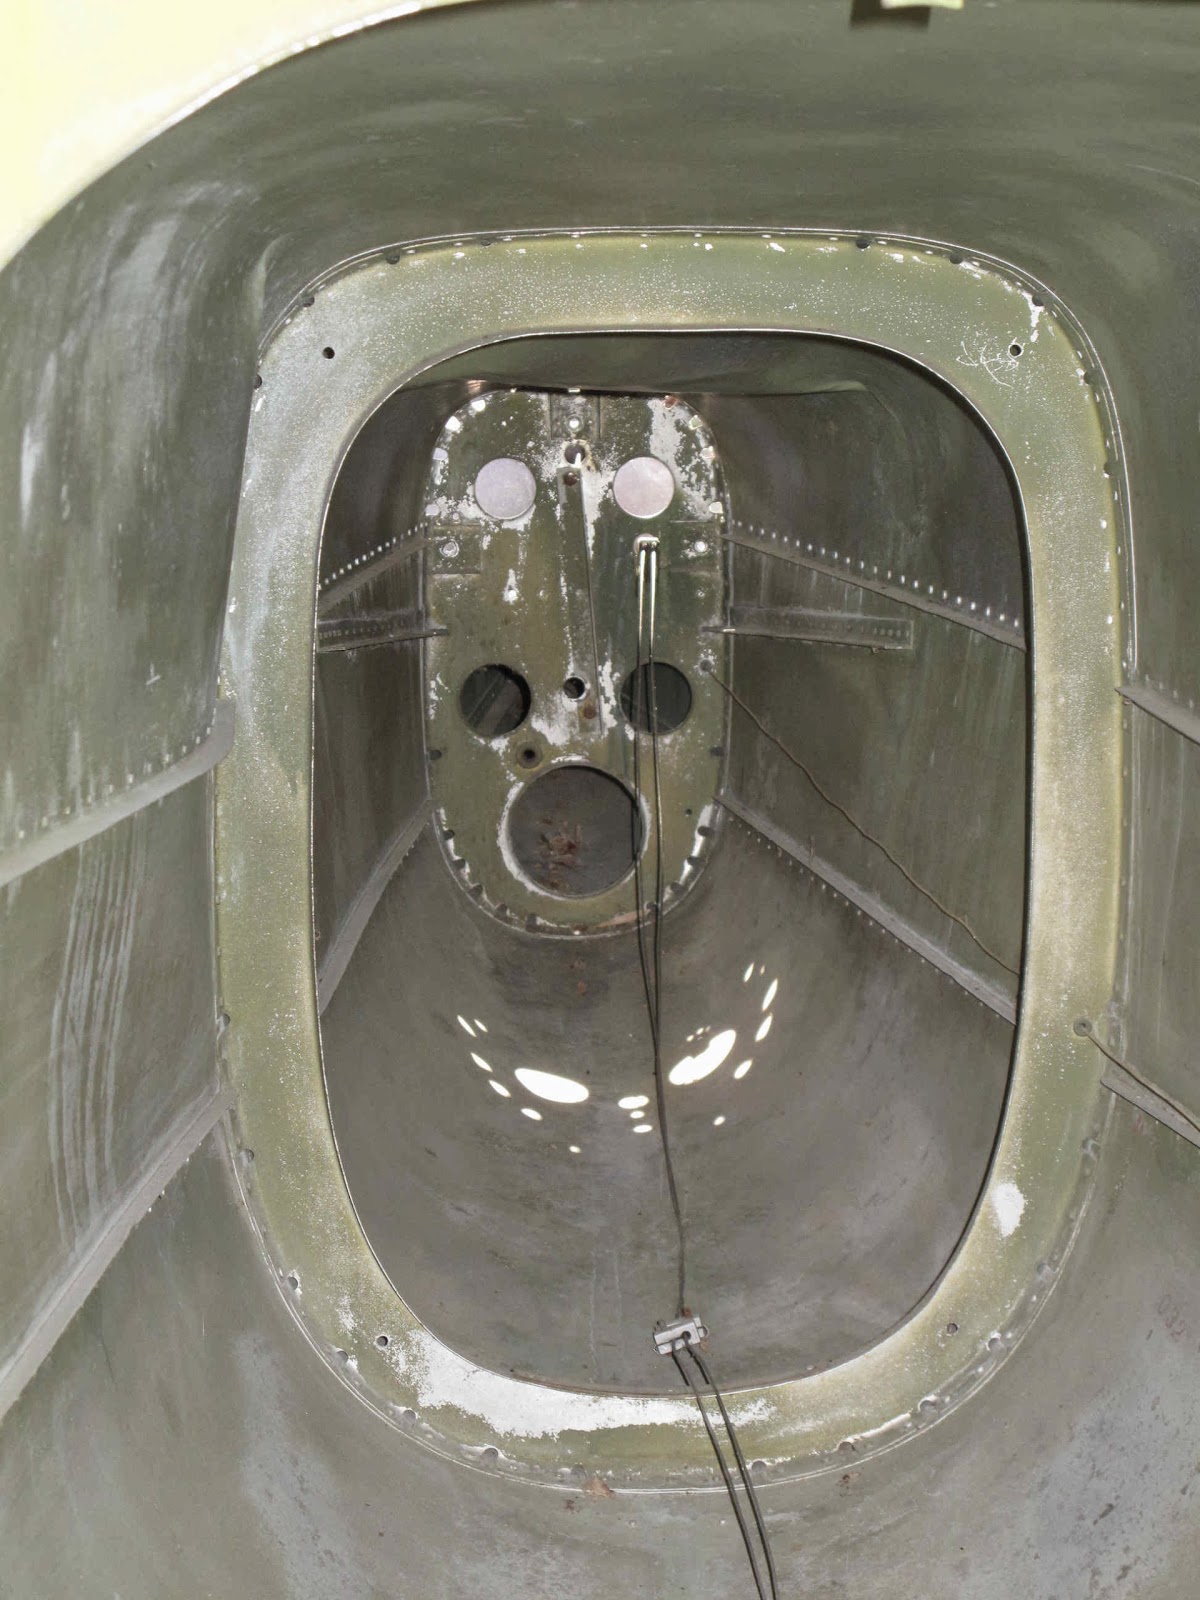
The fuselage is another story.  It took the full weight of the snow on the aft top skin of the fuselage.  The bent tent pole hit in the middle of it making a serious dent.


 There are 5 dented skin panels, the aft 2 top skins (0412116 & 0412117), the 2 long side skins (0412119 & 0412119-1) and the lower skin below the hit (0412121-3).


 Luckily the former (0412109) doesn't appear damaged.

It looks like about 70 hours work and $650 in materials to fix the fuselage.
There's another 20 hours and $200 in materials to fix the wing.

Bummer!

 Yesterday I repaired the tent, to protect things from any further damage, with a bunch of 1" EMT conduit and some bolts.
Fortunately I've kept hull insurance with Avemco to reasonably protect us if a disaster occurred.  Their adjuster will be here tomorrow afternoon to check it all out.  Hopefully this will have a happy ending.  I really didn't need more things to do and I had expected to fly the plane this summer.  We'll see what happens.

Saturday, April 27, 2013

Strut Repair Done

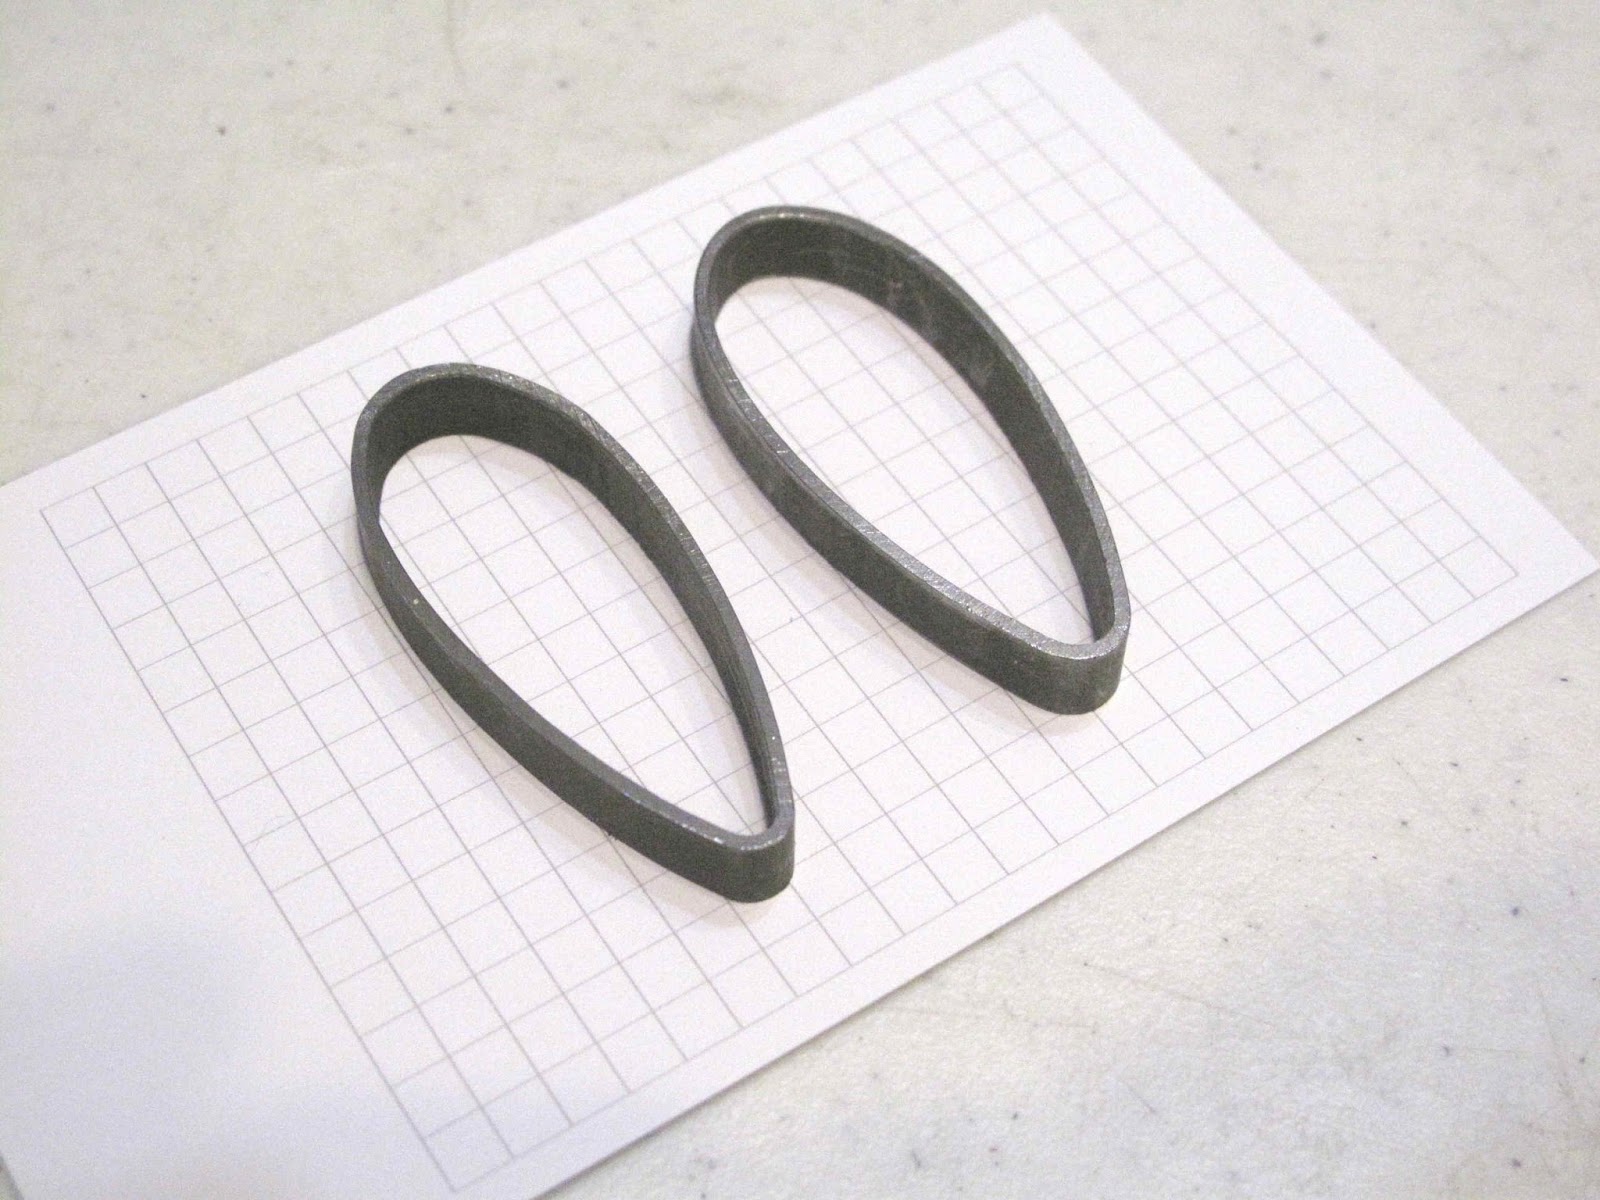
While I waited for a calm day so I could set up my tent and weld the second splice on the strut, I came up with a better idea for cutting off the trailing edge of the splice.  First cut off a slice, about 1/4" - 3/8", of the splice tubing.  Here are slices of 2 different pieces of the same size tubing.  The major and minor axis' are the same size but shape is different.  You see it more at the trailing edge.  As a result how they fit the strut and where the cut of is needed is different.
 The first picture shows the pointier piece over the Cessna strut tube.

The second shows the tube I bought from Aircraft Spruce over the Cessna strut tube.

The last picture shows the same piece over the tube I bought from Aircraft Spruce to splice in to replace the damaged section of the strut.  In the end they all will work fine but the closer you can fit the trailing edge of the splice the easier it will be to weld and have less distortion.


 Here is that same sample with the Trailing Edge cut off and fit around the strut tube.  You can see that if you just tried welding the ends shut it would be way to big of a gap.

By bending the cut edge of the splice to a nice fit welding becomes much easier.

 I then wrapped a strip of paper around the sample piece and cut it to length.

By wrapping it evenly around the splice tube you can mark it to raw a line for cutting off the trailing edge.

 The first splice I cut with a cut off saw clamped in my vice.  With an accurate cut line I just cut off the trailing edge with the band saw.  You need a stick or some way to hold the tube level while you cut it to get the 2 sides even and to prevent it from jamming the blade.

This was much faster and easier than the cut off saw.
 I slightly changed the way I formed the bend on the trailing edge ends.  I used the same piece of 1" x 1/2" steel which I had filed a radius on edges to bend around.  I used a piece of dowel to hold it up in position and some pieces of 3/32" welding rod on both sides to hold it centered in the splice tube.

The stick of 1x2 is just there to hold it all up in the jaws of the vice while hammering the edges.  It worked quick and easy.

 Before I cut off the damaged tube I penciled a 100" mark to help get the length correct.  You could work out where to put that mark from a good strut.  Everything was fit together and clamped to set the length back to that mark.
Next I measured the distance between the center of the strut rod ends at the jamb nut (30 1/4") on the wing.
I clamped some 1x2 stricks at the end of the struts to control that spacing.  The stick in the middle of the strut are to prevent welding in a bend.  The struts are setting on firebricks spaced to level them so there is no bend in that direction either.


I welded it setting flat so it meant re-doing the middle clamps as I flipped it to each side.  Once the sides were welded from LE to TE I tipped the rear strut to make welding the trailing edge easier.

It came out great and the ends only moved about 1/4" after welding.
Back to my modified grit blast cabinet.  The green is closed cell foam rubber with a slit cut in the edge so it fits in the hole like a big grommet.  I can easily cut slits as needed to move the struts and still seal the dust in.

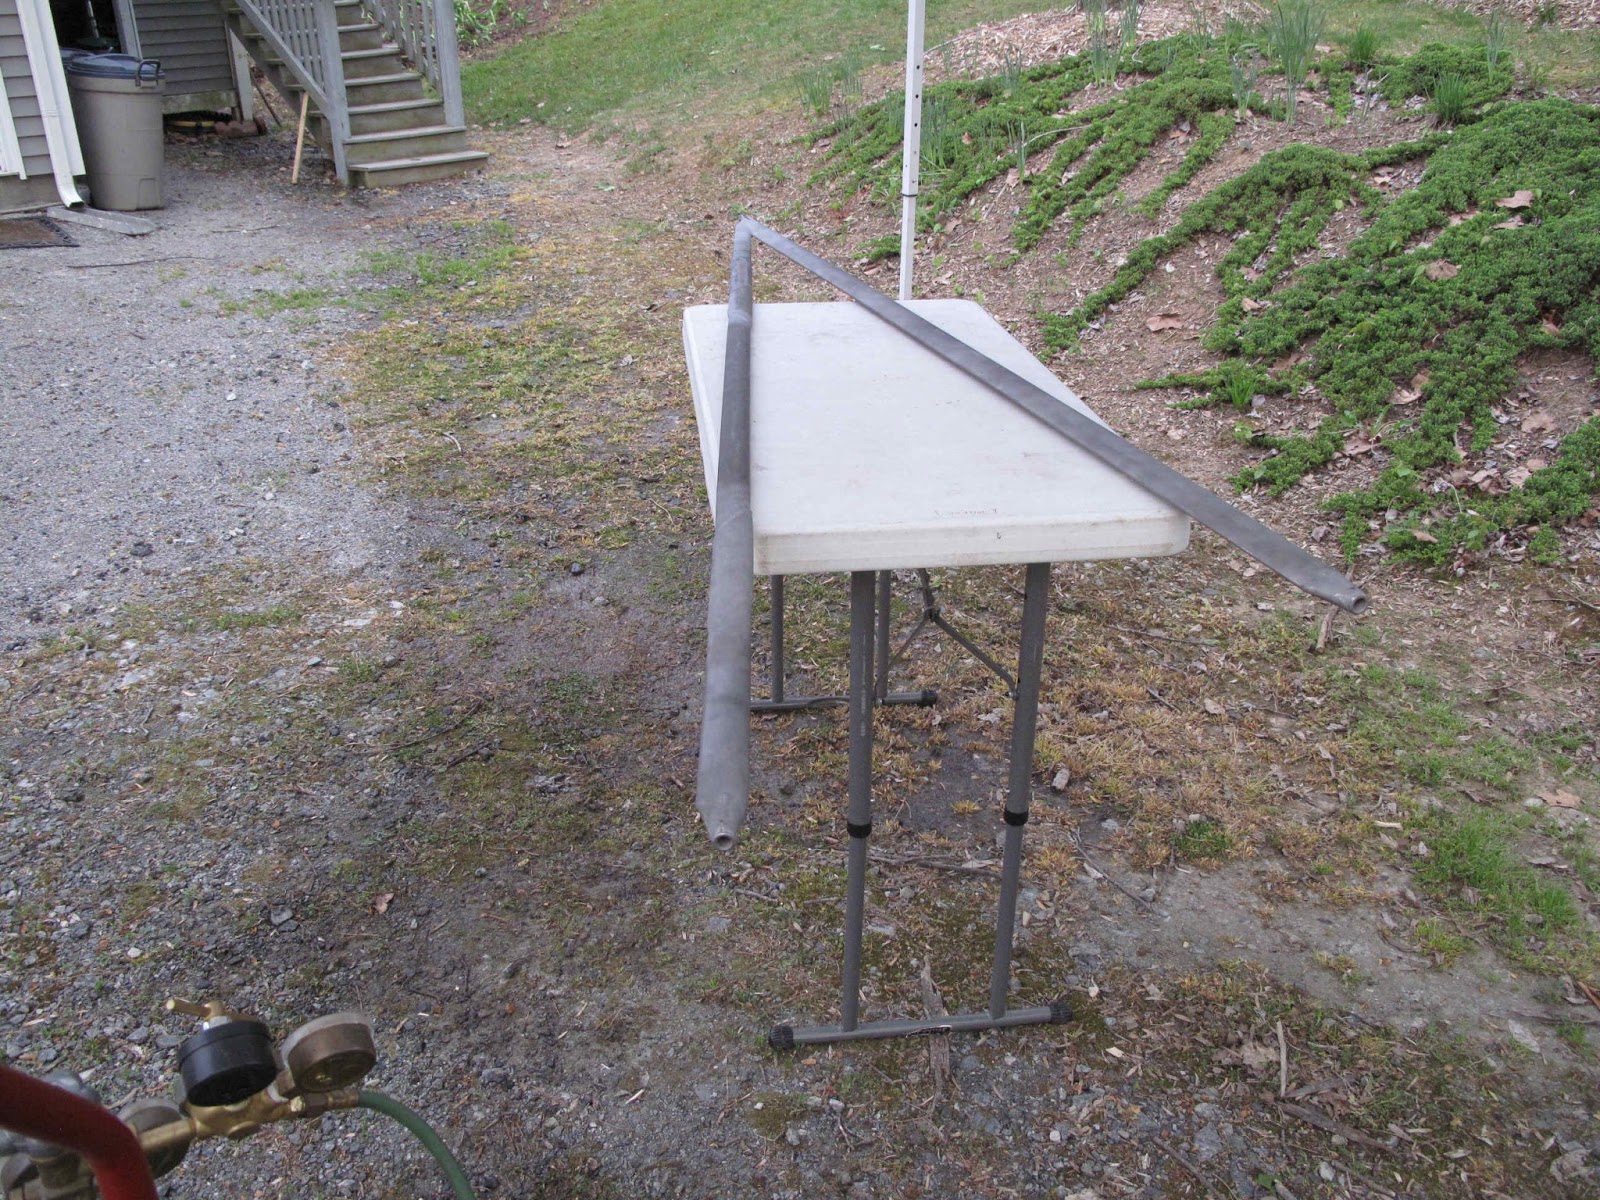
It works great.  Once the struts are primed I'm done with the struts until the plane is painted.


Wednesday, March 13, 2013

Welding the Wing Strut Splice

 I clamped everything together and realized there was a problem I'd missed.  Using the next size large tubing left the 2 sides at the trailing edge about 1/8" to 3/16" to long to meet up nicely for welding.  I clamped the splice sleeve to the deck railing and used the pneumatic cut off saw to remove the excess on each side.  The rail made a nice straight edge to guide my hand while cutting.

A much better fit.


 Shortening the sides of the sleeve caused the clamps to be to close to the weld.  I could have made shorter straps but I really wanted to weld, so I just put some of the scrap between the leading edge and the straps. In the end it was more trouble than making new straps but it worked.  Look at that nice fit.
 Cutting off the sides of the sleeve removed the little curve which fits around the trailing edge of the strut.  I clamped the sleeve in the vise with a piece of steel inside the sleeve and hammered the bend back onto the straight edges.  I put a small radius on the edges of the piece in the sleeve so I wouldn't damage the sleeve bending it.

It fits really well.

 The small clamps were needed to hold edges tight while tack welding.

I looked at other welded struts which had welded the trailing edges first or second and there were puckers which had to be hammered out.  Caleb and I agreed it seemed best to weld from the leading edge to the trailing edge on each side of on end and then each side of the other end. I tacked the ends first in that same order then completed the welds.

 Once both ends were welded the trailing edge was tacked about every 1 1/4".  I decided I could remove the clamps to finish the trailing edge weld.  I trimmed off 3/16" on each side.  It would have made welding easier if I had only trimmed closer to 1/8".  The gap made the weld bead wider than needed, but it all came out great.

 The sleeve fit perfect and there was no hammering needed to remove puckers.  I will do the splice at the other end by the same process.  I would have done it that day but I weld outside in a tent.  I took a break after the first splice and a breeze started so I'll wait for another calm day to make the second splice.

Because you are welding on one edge of the splice that side shrinks slightly and will cause the strut to have a bend.  You can fix it a little by heating the other side to a dull red.  It's easier to start with the leading edges slightly forward of straight.  It looks like about 1/32"- 1/16" at 18"each side of the splice will come out straight.  I used 18" because you can check it with a yard stick.

Saturday, March 2, 2013

Clamping The Splice Sleeve for Welding

The splice sleeve springs open quite a bit when you split it along the trailing edge.  As a result you need to clamp it tightly to hold it in place while you weld it.  I tried clamping the splice sleeve on the strut and could not keep the C-clamps from sliding off the training edge of the splice.  My friend Caleb Glick suggested making L shaped pieces of angle iron to use under the clamps to spread out the clamping and and keep them from sliding off.  Yea an excuse to go to Tractor Supply.   I cut the leg off one side of a piece of 3/4" x 3/4" x 1/8" angle.  The clamp pieces were then cut to the same 30 degree angle on each end, as on the splice sleeve.  I made the 2 pieces about 1" shorter than the splice sleeve so it wouldn't be to close to the weld.  You don't want the weld cooling to fast with 4130 steel.

 To keep the clamp pieces from sliding I used the cut off scrap to make 2 straps to screw onto them.  I formed them to fit around the streamlined tubing and position the clamps about 3/8" from the back of the tube.

You can see in the sketch one of the other things I did to help it all fit and clamp nicely.  I used the belt sander to grind an angle on the short leg of the clamp pieces.

 It all fits the sleeve very well.

 Here are all the pieces and the clamp assembled.  It took a couple hours to make but with 2 splices to weld I think it's worth the effort.

The straps flex enough to allow the sleeve to be pushed in between them to install the clamp piece.