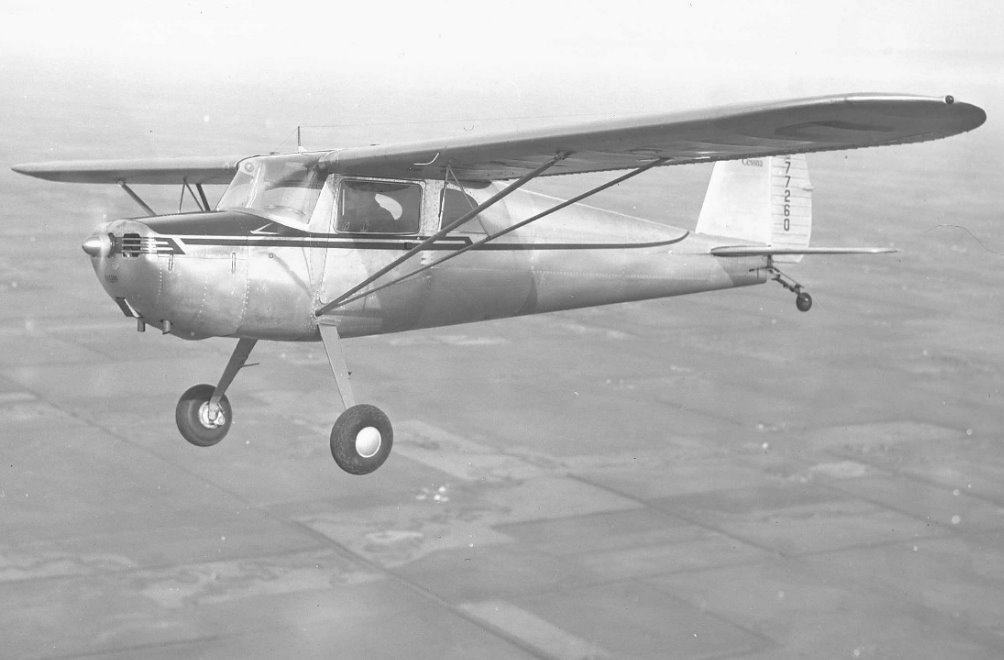
On Monday they took the blog site down to "read-only" for an hour. It's now Saturday and it's finally back working. You've got to love computers.
The heat valve was sticking and of course the steel parts were rusty. I've cleaned it up and painted it with engine enamel. It works great now. It was riveted on but the IPC shows it attached with 4 #8 screws and 12 #6 screws with flat Tinnerman nuts. I need to find out if there is a reason it needs to be riveted. The screws weigh more but allow it to be removed and cleaned, etc. to keep it working well. Right now my plan is to screw it on when my young apprentice is visiting for a week this summer. It takes someone on the inside to hold the nuts. She reminded me the other day that I'm supposed to build a plane for her and one for her brother when my planes are done.
The lower attachment for the windshield is made of 2 strips of aluminum. The inner strip (shown here) is riveted to the boot cowl area with about 12 3/32" countersunk rivets. The outer strip is attached with screws and nuts with the windshield sandwiched between the 2. The outer strip was probably originally riveted on but the holes are to messed up to allow riveting it on. I wouldn't have removed the inner strip but it was all bent up and caked with clear RTV. By carefully working with a hammer and dolly it's all straight and fits very well. There was a lot of crud under it such as old paint stripper, paint residue and the remains of some black rubber as well as RTV. I thought it was odd that this part was dimpled for the rivets but the fuselage was not dimpled to fit. Back to the parts manual (IPC). It says there was a strip of 3/4" electrical tape under this piece 60 " long. Clearly the cheap vinyl electrical tape we use today was not going to fill the gap from the rivet dimples nor would it do anything else of value. The brain finally started working and I remembered the rubber electrical tape we used at the phone company. We never used vinyl tape. The rubber tape was used on battery cable terminals and splices. After wrapping with the rubber tape, overlapping 1/2 width, the rubber was wrapped with friction tape and shellacked. The rubber tape was about 3/4" wide and 1/32" thick, perfect to fill the gap under the windshield strip, provide protection from chafing, and seal out wind and rain. After calling the nearest electrical supply houses to make sure such tape was available I did some checking on the web and found 2 tapes made by 3M which should work. The first is Temflex 2155 Rubber Splicing Tape. It's 3/4" wide and .030" thick, used for exactly what we did at the phone company and even recommended to be wrapped with friction tape to protect the splice. OK, I think this is what Cessna intended. While I'm impressed with how much I was able to straighten the aluminum strip I don't think it is even close to how well it fit when new. So, do they have anything which might work better? I also found Scotch 2228 Rubber Mastic Tape, the name seemed closer to what I need. It comes in 1" width is 1/16" thick and has a mastic layer on both side to help it stick in place. It's also a softer rubber so the added thickness should allow it to better seal the used strip than just the rubber tape. I'll use the 2228 unless it doesn't work for some reason. I'll have to trim it a little but I think the extra work should be worth it. Now where to get it. It turns out both tapes are available at Lowes, Hi-Ho Hi-Ho it's off to Lowes we go. They're in the electrical department with the cheap vinyl tape. They only have the 2228 ( called Moisture Sealing Electrical Tape) in a 4 ft. roll ( about $5) so it takes 2 to do this. It's still cheaper than ordering a 10 ft. roll on line. Before I can finish this I need to paint the glare shield area and prime the underside of the strip, when the rain stops.
To remove the RTV I went to the hardware store looking for some kind of stripper claiming to work on Silicone Sealants. I found some. The one I chose, Pro-Strength De-Sov-it, because of the big label which says "Removes Silicone Lightning Fast!" comes in a spray bottle for easy application. Well, in the small print it says it takes 1 - 7 hours, so much for Lightning Fast. I've long since quit being in a hurry so my plan was spray it on the strip and the fuselage, go back to work in the shop while it does it's magic, then repeat every hour until the RTV could be removed. At the end of the first hour it was clearly working it's way into the RTV. The outer layer was crumbly and really thin areas rubbed off. Three passes of spray set rub off and repeat were needed to remove the RTV residue. I started by removing as much of the RTV as I could with a pen knife so there would only be a thin layer to dissolve. It is a citrus based stripper which seams to remove the plasticizers from the RTV so you can easily scrub it off with a wood or plastic scraper. I won't know until I wash it with prep-sol and MEK whether I really have all the Silicone removed so the primer will stick, but the RTV is gone.
Subscribe to:
Post Comments (Atom)


No comments:
Post a Comment