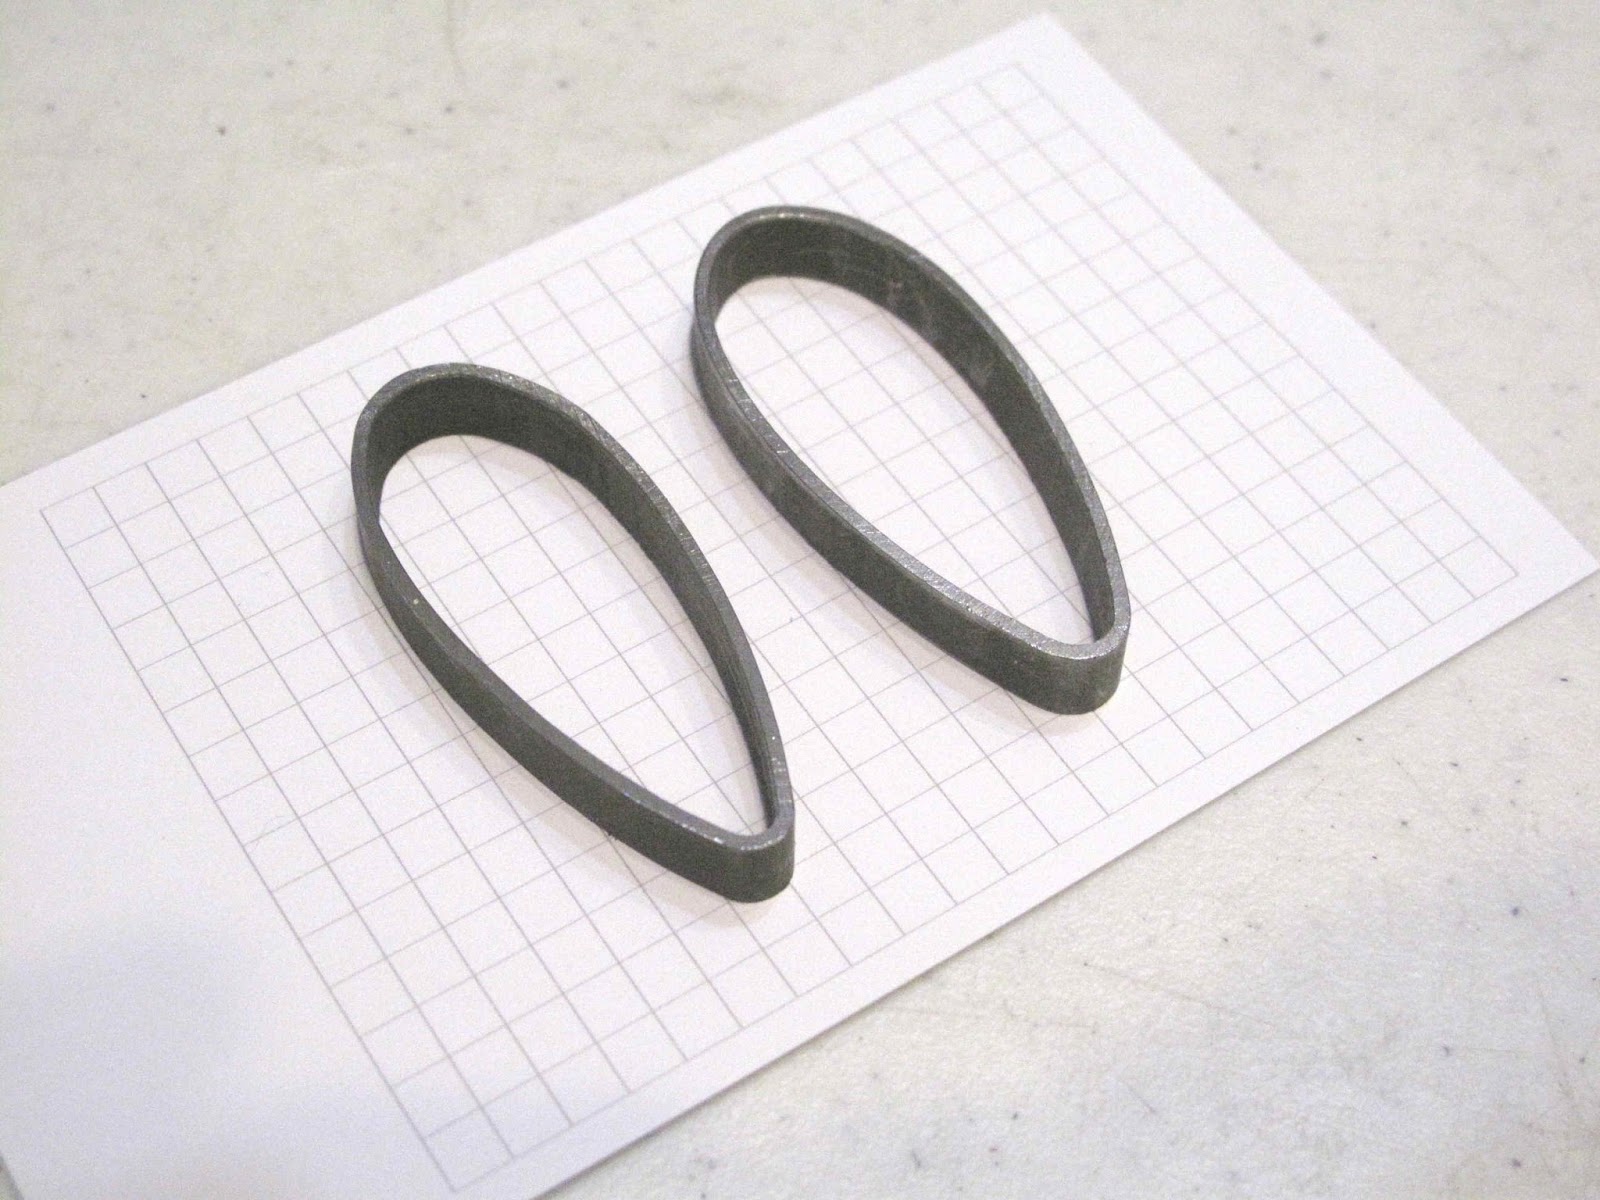
While I waited for a calm day so I could set up my tent and weld the second splice on the strut, I came up with a better idea for cutting off the trailing edge of the splice. First cut off a slice, about 1/4" - 3/8", of the splice tubing. Here are slices of 2 different pieces of the same size tubing. The major and minor axis' are the same size but shape is different. You see it more at the trailing edge. As a result how they fit the strut and where the cut of is needed is different.
The first picture shows the pointier piece over the Cessna strut tube.
The second shows the tube I bought from Aircraft Spruce over the Cessna strut tube.
The last picture shows the same piece over the tube I bought from Aircraft Spruce to splice in to replace the damaged section of the strut. In the end they all will work fine but the closer you can fit the trailing edge of the splice the easier it will be to weld and have less distortion.
Here is that same sample with the Trailing Edge cut off and fit around the strut tube. You can see that if you just tried welding the ends shut it would be way to big of a gap.
By bending the cut edge of the splice to a nice fit welding becomes much easier.
I then wrapped a strip of paper around the sample piece and cut it to length.
By wrapping it evenly around the splice tube you can mark it to raw a line for cutting off the trailing edge.
The first splice I cut with a cut off saw clamped in my vice. With an accurate cut line I just cut off the trailing edge with the band saw. You need a stick or some way to hold the tube level while you cut it to get the 2 sides even and to prevent it from jamming the blade.
This was much faster and easier than the cut off saw.
I slightly changed the way I formed the bend on the trailing edge ends. I used the same piece of 1" x 1/2" steel which I had filed a radius on edges to bend around. I used a piece of dowel to hold it up in position and some pieces of 3/32" welding rod on both sides to hold it centered in the splice tube.
The stick of 1x2 is just there to hold it all up in the jaws of the vice while hammering the edges. It worked quick and easy.
Before I cut off the damaged tube I penciled a 100" mark to help get the length correct. You could work out where to put that mark from a good strut. Everything was fit together and clamped to set the length back to that mark.
Next I measured the distance between the center of the strut rod ends at the jamb nut (30 1/4") on the wing.
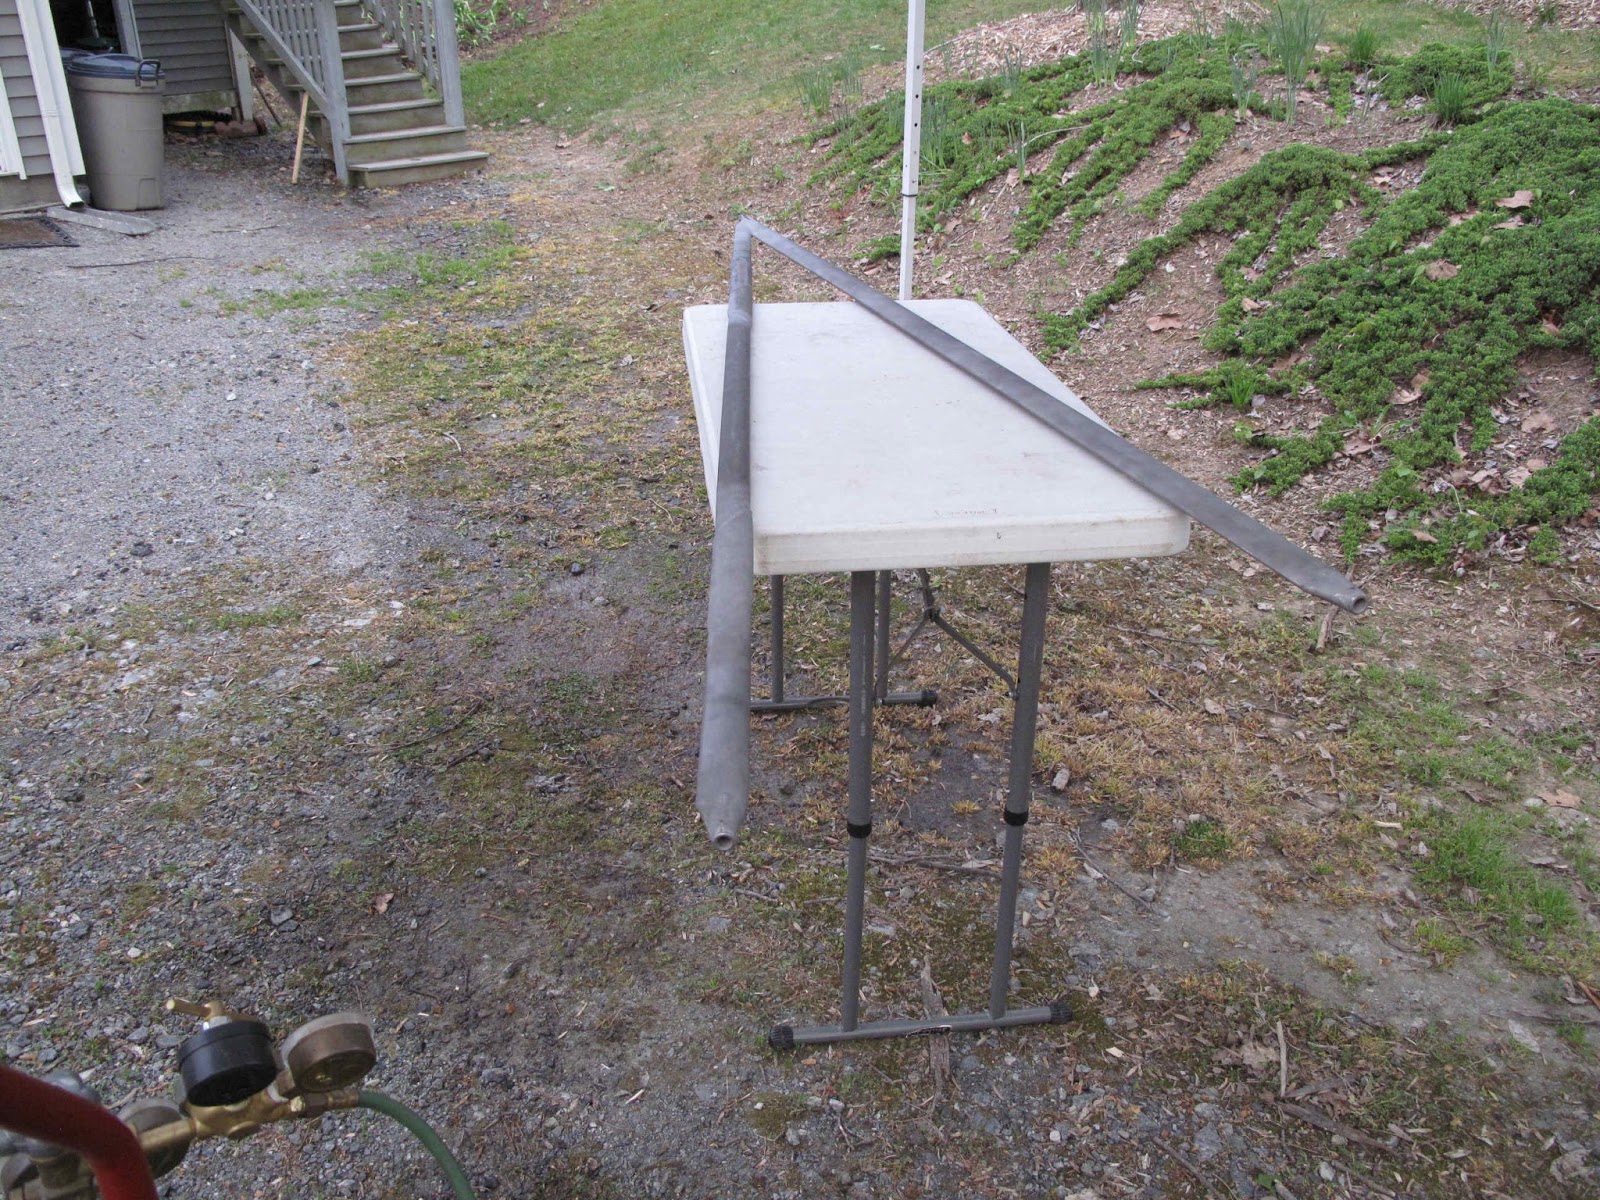
I clamped some 1x2 stricks at the end of the struts to control that spacing. The stick in the middle of the strut are to prevent welding in a bend. The struts are setting on firebricks spaced to level them so there is no bend in that direction either.
I welded it setting flat so it meant re-doing the middle clamps as I flipped it to each side. Once the sides were welded from LE to TE I tipped the rear strut to make welding the trailing edge easier.
It came out great and the ends only moved about 1/4" after welding.
Back to my modified grit blast cabinet. The green is closed cell foam rubber with a slit cut in the edge so it fits in the hole like a big grommet. I can easily cut slits as needed to move the struts and still seal the dust in.
It works great. Once the struts are primed I'm done with the struts until the plane is painted.


No comments:
Post a Comment