

The electrical switches on the C-140 are operated aluminum tabs, referred to as piano keys) which are located in a row just above the throttle. It's a little complicated but it looks cool. The fuses are located below the throttle and somewhat out of the way.
The keys are aluminum extrusions with a 1/8" hinge pin (wire). When you push a key down it pivots on the pin and operates the switch. There is a rubber grommet in each key to smooth toggling the switch. It actually works just fine.
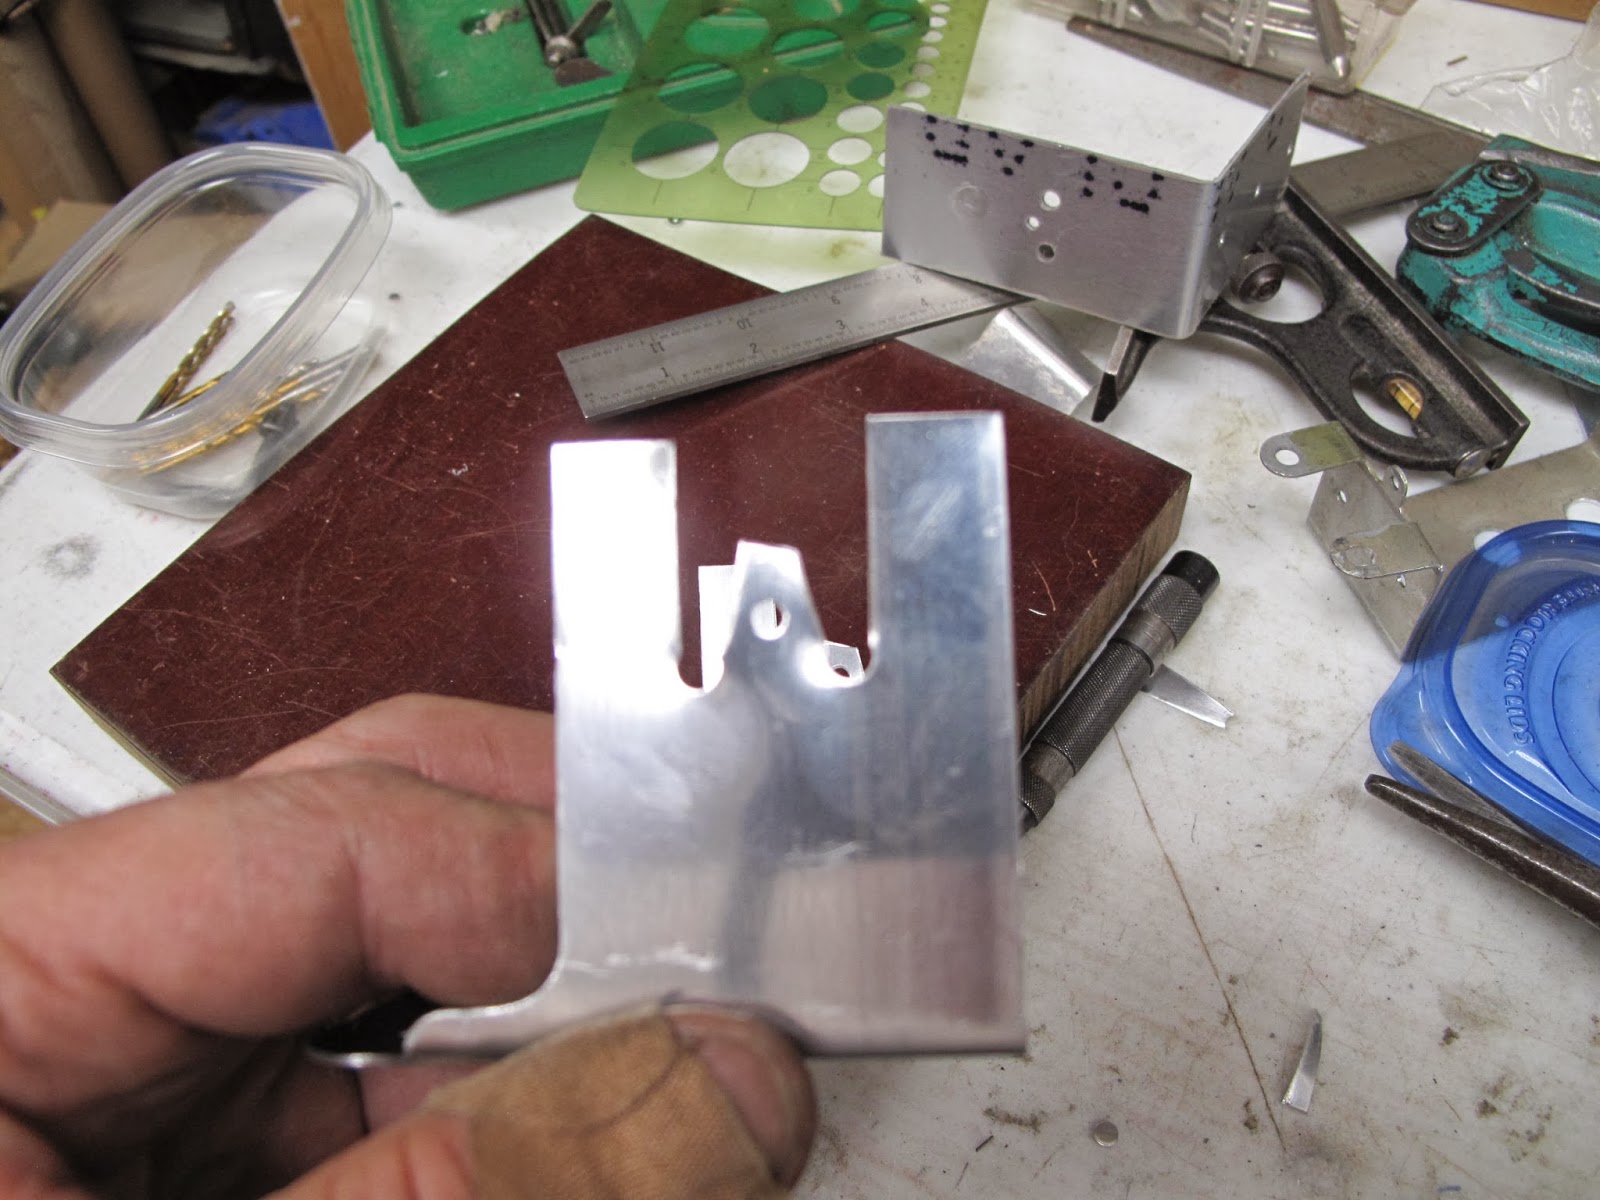
At some point the mounting brackets (0412475) which hold the pivot pin broke and someone attempted a repair. What they did was crude but might have worked except there is a left and right hand bracket, which also hold the fuses, and they reversed them so the mounting holes don't align with the holes in the instrument panel.
Not knowing how this was all made I assumed I just needed to disassemble it all and reassemble it correctly.


I punched a 1/8" hole at the center of each switch and fuse holder, then duplicated the holes on the second blank. I'll use these holes to locate the pieces while forming the bends.


A 1/8" radius was routed and a 7 degree spring back angle sanded on the edges of the block.
Holes were drilled and aluminum rivets used as locators to hold the blank while making the bends. I just cut the heads off the rivets and pushed them through the holes.
Very easy to hold the blank in position.


I always pound on a wooden block rather than hammer directly on the metal being bent.


Bend one side, switch the part around and bend the second side. Just be careful not to bend the pin tab. I used a scrap of wood so I could see that it was clear of the tab when I pounded it with the hammer.


The pin tab I made a little wider at the base on the assumption the original tabs were a little weak. The material was just going to be trimmed off to make a square tab and this way I only needed one hole between each tab.


The fuse holder holes were 5/8" so I scribed 5/8" circles with a spade drill.


After all that work I have no idea why they made the holes so big. I assume they originally planned for a larger fuse holder. Oh Well.
I did find 3 fuse holders, in all the junk I have, which are for the larger fuses and they need this 5/8" hole size. There is nothing indicating they ever used such fuse holders.


I polished the keys and waxed them. I like it.
Now I need to make up the wiring harness.


No comments:
Post a Comment