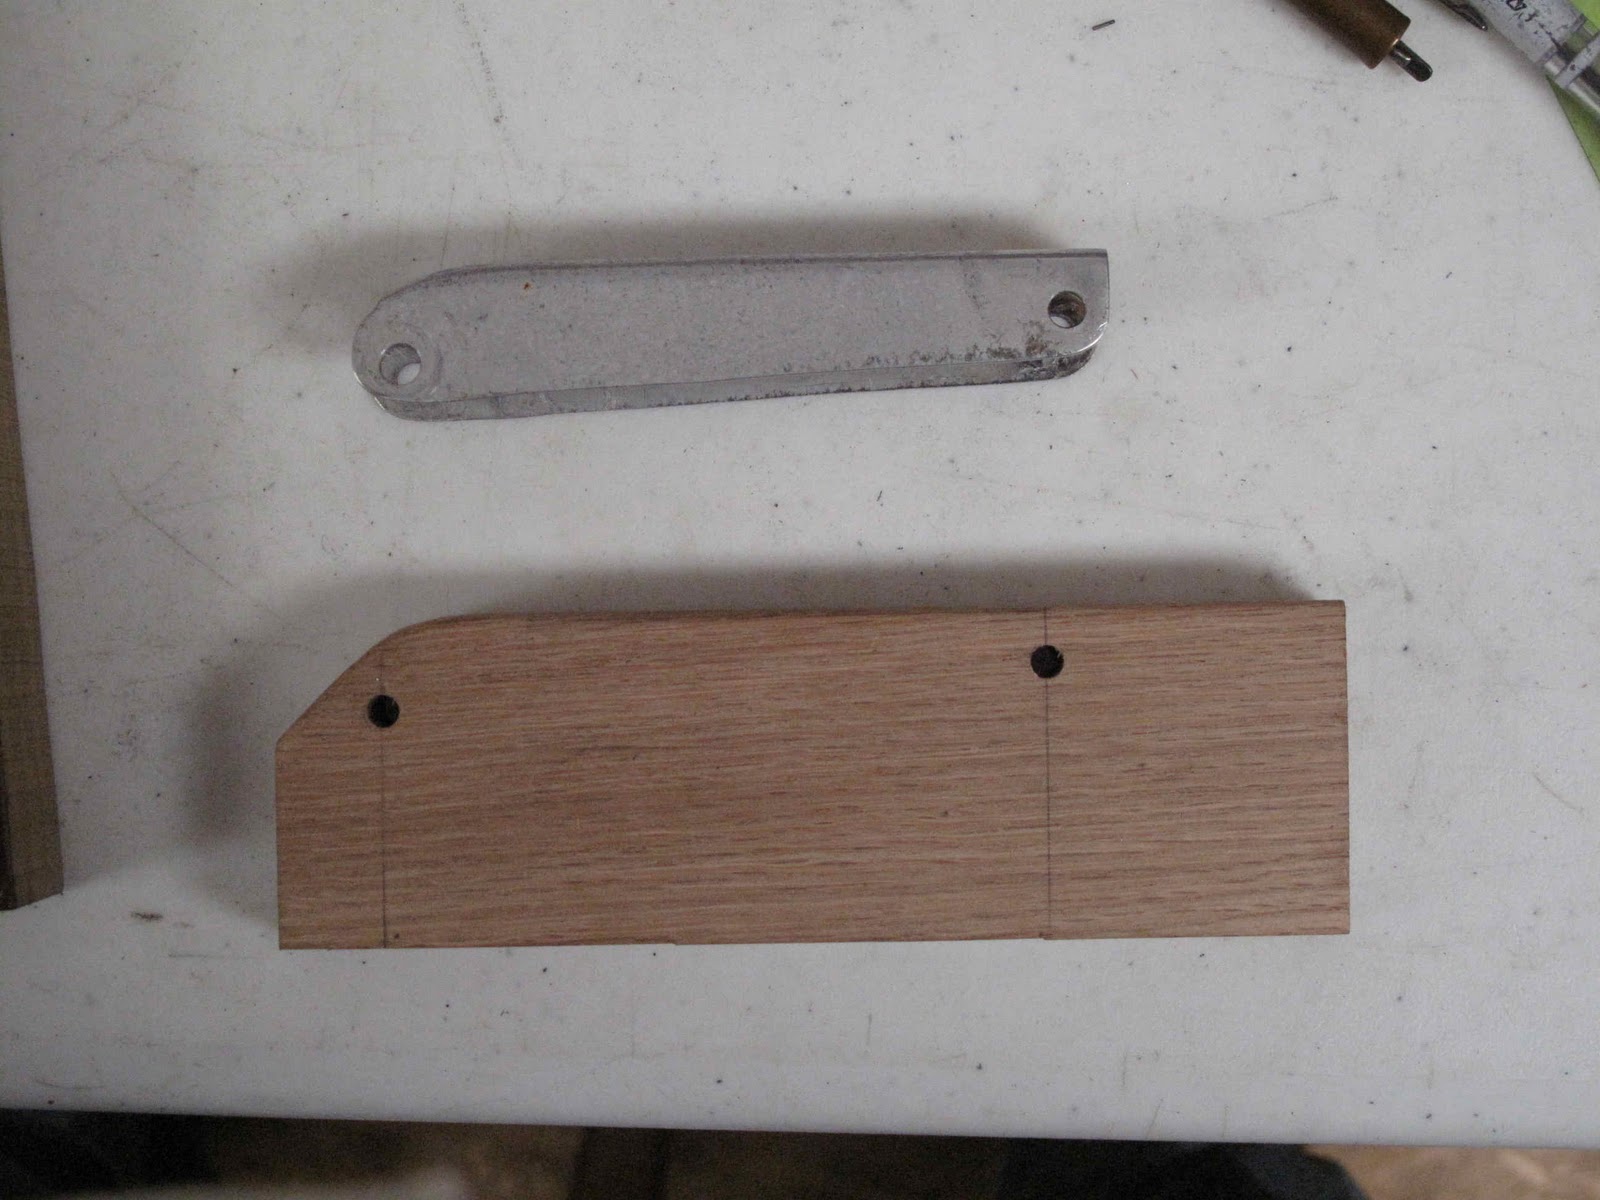
The Aluminum Link is made from .040" aluminum. In order to form the shape needed it will be made from 5052-H32 aluminum. To form the channel shape and the curved end I made a hardwood form block. The first step was to locate and drill the 2 holes for the pivot pins. The holes won't be drilled in the sides of the link until each side is bent. The sloped end was then cut for shaping the bend in the top of the link. A 3/32" radius was then filed on the 2 corners where the bends are formed.
Except for dead soft aluminum there is always some spring back when you make a bend. As a result the form block needs to be tapered so the bend will spring back to 90 degrees. The simple way to figure out how much to overbend the part is to just take a sample piece and bend it 90 degrees. The sample can be used to set the angle on the sander to taper the form block and check the finished block to make sure the angle is correct.
With the form block ready a template was made for the part. The pivot hole will not be punched in the blanks. It helped me to understand the part. The small hole is for attaching the knob. On the original part this was done with a 3/32" rivet. I made the hole 1/8" so I could use it as an alignment hole to position the blank more easily for bending. And Locating The Pivot Holes.
A 1/8" hole was drilled in the edge of the wood form block where the rivet will later be installed in the part to attach the knob. A hardwood backing block was made from 1/4" stock with a hole in it for a 1/8" steel rivet to serve as a dowel pin. The hole was counter bored to allow the rivet head to be flush with the edge of the wood when everything is clamped in the vise for bending.
Don't hammer directly on the metal. Use a wooden block to hammer on so the forces are evenly spread and the aluminum doesn't get dented. With the relief angle on the form block the bend springs back to a nice 90 degrees. I love it when a plan works.
Using the rivet hole to locate the part on the form block the 2 pivot holes on the first side can be center punched with a 3/16" transfer punch. The 3/16" pivot holes can now be punched with the Whitney punch.
Two 3/16" bolts and the rivet are were used to hold the part in position for the second bend.
With both bends made the transfer punch was used again to center punch the pivot holes on the second side through the form block. This assures the holes are positioned at the correct spacing and square so the linkage will move freely.
There is no way to get the punch into the marks for the hole on the second side so they need to be drilled. I find regular twist drills hard to control accurately. I also find it's easy for a twist drill to act like a reamer and open up the first hole in the thin aluminum by rubbing on the side of the drill. The small pilot drill on a center drill along with it's smooth sides make it perfect for drilling through the first hole into the center punch on the inside. You just have to leave enough of the drill sticking out of the chuck to drill through the second side. I also used a thin 3/16" washer to protect the aluminum from the spinning chuck.
We now have a well formed part with all the holes properly located. The next step is to form the end down to a nice curve.
In order to form this end down it is necessary to shrink this end of the channel. The trick is to form the metal inward to form a wave in the middle, anneal the wave and then smash it down flat without widening out this end of the link. This is why I chose 5052, it's easy to anneal the area needed without annealing the whole part. First I ground off 2 washers to use to hold the metal tight to the form block while giving room to hammer the corner to the middle with the rawhide mallet. The rippled area was then annealed by coating it with soot from the acetylene torch and warming it with a neutral flame to heat off the soot just in the rippled area.
To keep the sides from moving out the link was put back on the form block and the sides protected with fender washers. Then the ripple was hammered down. A harder form block would have made this work out better so I made a small steel block to just planish the area a little.

The finished part should work just fine. The next part to make is the steel link.


 The finished part should work just fine. The next part to make is the steel link.

No comments:
Post a Comment